Fix Outlook crashes when creating a new profile

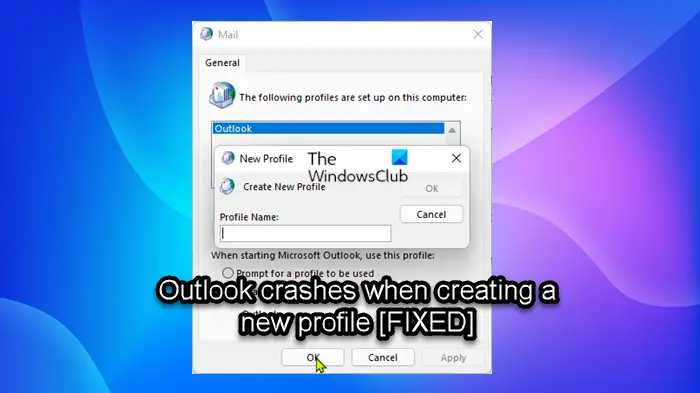
Some Windows users that have Microsoft 365 or Microsoft Office installed on their Windows 11 or Windows 10 computer may encounter the issue whereby Outlook crashes when creating a new profile. If you’re facing similar issue, the solutions provided in this post will help you resolve the issue.

When this issue occurs when you try to create a new Outlook profile, in the Application log in Event Viewer, you may find one or more crash signatures registered as Event ID 1000. You’re most likely to encounter the issue in highlight due to one or more of the following reasons:
- You run Outlook 2016 on Windows 10.
- You have a proxy server configured in Internet Explorer.
- You have Folder Redirection enabled.
- The ProxySettingsPerUser registry key is missing on your system.
Outlook crashes when creating a new profile
If Outlook crashes when creating a new profile on your Windows 11/10 PC, you can try our recommended solutions in the order presented below to resolve the issue on your system.
- Run Microsoft Support and Recovery Assistant
- Modify (add ProxySettingsPerUser key) the registry
- Turn off Automatically detect settings
- Repair/Reset/Reinstall Outlook
Let’s take a look at the description of the process involved concerning each of the listed solutions.
Before you proceed with the solutions below, make sure you manually update Microsoft Office on your Windows 11/10 device and see if you can create the new Outlook profile without issues. In addition, you can try the fixes in the guide on how to fix Outlook problems and see if something in the post helps.
1] Run Microsoft Support and Recovery Assistant
You can begin troubleshooting to fix Outlook crashes when creating a new profile issue on your Windows 11/10 PC by running the Microsoft Support and Recovery Assistant tool. The command-line version of SaRA is also available.
The tool can help you with Outlook if:
Continue with the next solution if the automated tool wasn’t helpful.
2] Modify (add ProxySettingsPerUser key) the registry
As already indicated, if the ProxySettingsPerUser registry key is missing on your system you may encounter the issue you’re currently facing. In this case, to resolve this issue, you need to add the missing registry data.
Since this is a registry operation, it is recommended that you back up the registry or create a system restore point as necessary precautionary measures. Once done, you can proceed as follows:
HKEY_LOCAL_MACHINESoftwarePoliciesMicrosoftWindowsCurrentVersionInternet Settings
- At the location, on the right pane, if the ProxySettingsPerUser registry key is present, exit Registry Editor and try the next solution.
If the key is not present, right-click on the blank space on the right pane and then select New > DWORD (32-bit) Value to create the registry key and then rename the key as ProxySettingsPerUser and hit Enter.
- Double-click on the new entry to edit its properties.
- Input 1 (Proxy applied per user) or 2 (Proxy applied for all users) in the Value data field per your requirement.
- Click OK or hit Enter to save the change.
- Exit Registry Editor.
- Restart PC.
On boot check if the issue is resolved. If not, continue with the next solution.
3] Turn off Automatically detect settings
This solution requires you to turn off Automatically detect settings in Proxy settings on your Windows 11/10 PC. To perform this task, you can foillow the instructions in the guide on how to disable Proxy or Prevent changing Proxy settings.
Alternatively, you can disable automatic configuration in LAN settings to achieve the same result – to do this, proceed as follows:
- Open Run dialog, type inetcpl.cpl and hit Enter to open Internet Properties.
- In Internet Properties sheet, click the Connections tab.
- Select LAN settings.
- Now, uncheck Automatically detect settings option.
- Click OK > OK to exit and save changes.
This setting can also be configured by following the instructions in Solution 2]. But this time, navigate to the registry path below:
HKEY_CURRENT_USERSoftwareMicrosoftWindowsCurrentVersionInternet Settings
And at the location on the right pane assign the value 0 to the DWORD AutoDetect. If the key is not present, create the registry key accordingly.
4] Repair/Reset/Reinstall Outlook
At this point, if none of the solutions above has worked for you in resolving the issue in focus, you can Repair/Reset/Reinstall Outlook client in that order and see if that helps.
You can repair Office Outlook via the Settings app on Windows 11/10. To perform this task, do the following:
- Open Settings for Windows 11/10
- Select Apps and Features.
- Scroll to find your Microsoft Office installation.
- Click on the entry and click on Modify.
- On the popup dialog, choose Quick Repair or Online Repair.
- Click on the Repair button.
Alternatively, you can also repair Microsoft Outlook on your Windows 11/10 PC via Control Panel – here’s how:
- Open Control Panel.
- Click Programs and Features.
- Right-click the Office program that you want to repair, and select Change.
- Next, click Repair > Continue. Office will start repairing the apps.
- Restart PC after the repair operation completes.
You can reset Outlook and see if the issue in hand is resolved if the repair operation wasn’t helpful. And in the event the reset didn’t work either, you can uninstall Office and then reinstall Office suite on your system.
Hope this helps!
Related post: Fix Outlook crashes when sending an email
What to do if Outlook keeps crashing?
If Outlook keeps crashing on your Windows 11/10 PC, follow these procedure to resolve the issue:
- Exit Outlook.
- Open a Run dialog box.
- Type Outlook /safe, and then click OK.
- If the issue is fixed, click Options on the File menu, and then click Add-Ins.
- Select COM Add-ins, and then click Go.
- Click to clear all the check boxes in the list, and then click OK.
- Restart Outlook.
How do I delete my Outlook profile and create a new one?
To delete your Outlook profile and create a new one, do the following:
- Open Control Panel.
- Click Mail to bring up a list of your current profiles.
- Next, click on the profile you need to delete.
- Click Remove.
- Once you’ve removed your incorrect profile, click Add to add the correct profile.
How do I rebuild my Outlook 365 profile?
To repair or rebuild profile from Outlook Desktop application, follow these steps:
- Click File on the menu bar.
- Select Account Settings, and then select Account Settings again in the drop down menu.
- In the Email tab, select the account you wish to repair and click Repair.
- Select Next.
- Outlook will complete the setup for your account.
What happens when you create new Outlook profile?
A profile is a set of emails and settings that Outlook app for Windows uses to remember where your email is stored. When Outlook is started for the first time a profile is automatically created. Deleting a profile deletes all email accounts stored in that profile. Any .pst file associated with that profile will remain on your computer, but in order to access that data, you’ll have to open the Personal Folders File from within another profile.


