Windows Security Not Working in Windows 11? Here’s How to Fix It

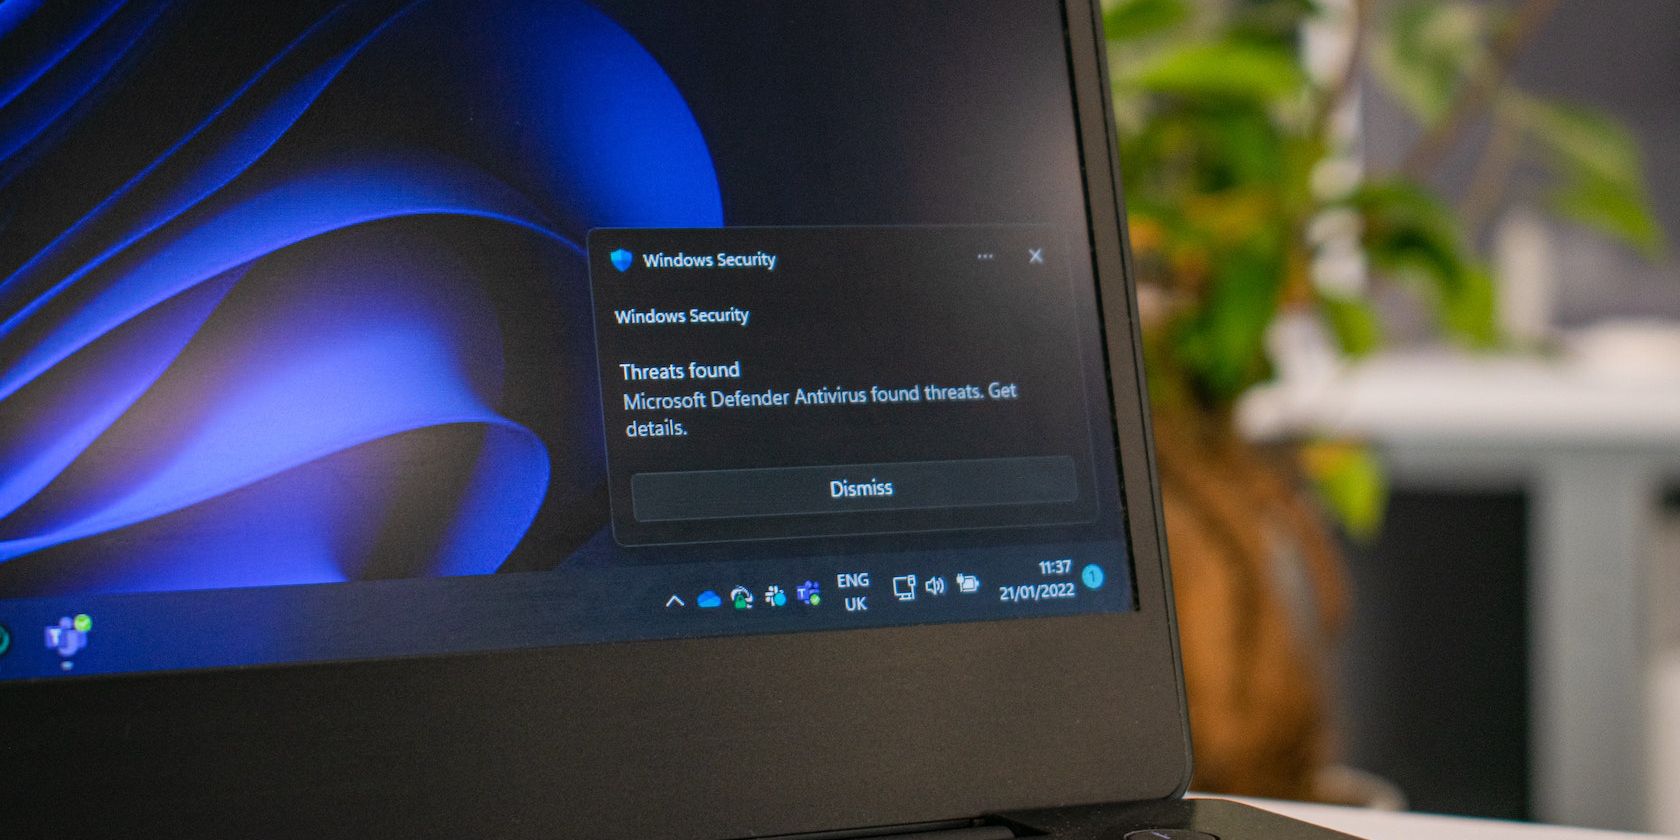
Windows Security is a complete antivirus program designed to protect your PC from outside threats. However, there are times when the security software might stop working properly, or in some cases, not start at all. And if you’re without an external antivirus app, that leaves you wide open for security attacks.
As such, it’s crucial that Windows security is working at its best so that your computer security is kept tight. In this article, we’ve laid down some of the best tricks you can take to fix Windows Security.
1. Update Windows 11
How long has it been since you last updated your Windows? If it’s been a while, it might be a good time to get started now.
To check for updates, launch the Windows Settings. Go to Start menu search bar, type in ‘settings,’ and select the Best match. Alternatively, press Win + I together.
Scroll down and select Windows Update. Now click on Check for updates and the Windows will start checking for updates in your PC.
If any new updates are available, they’ll be displayed on the Windows Update screen. All you have to do is click on Download & install to get the ball rolling.
When the updates are complete, give your PC a restart and see if the problem with Windows Security persists. If it does, then jump below to the next method.
2. Disable Third-party Antivirus
If you have an additional antivirus installed on your PC, it might be a good time to get rid of it.
Running Windows Security along with third-party antivirus apps has been known to cause disruption in Windows computers. So removing the additional antivirus might, in fact, be a fair approach, and see if it can get everything back to normal.
To do that, launch the Settings again. Go to Apps > Apps & features. Now search for the antivirus and when you find it, click on options (three dots) and select Uninstall.
The third-party antivirus will be removed. Now restart your Windows 11 and see if the problem with Windows Security persists. It shouldn’t.
3. Reset the Security App
If you’ve removed the third-party antivirus app from your PC, but it’s still not getting to work, then it might be better to do a reset of your Security app.
Go to the Settings menu again. Select App > Apps & features and type in ‘security’ in search menu box. An icon for Windows Security will pop open. From there, click on the options (three dots) and select Advanced options. Now scroll down to Reset section and click on Reset.
You’ll get a confirmation asking if you really want to reset the app, along with your whole app data. Click on Reset to go with it.
You can try the Repair option if you would like to avoid getting started right from a Reset. It’s right there above the Reset option. As soon you click on Repair, the process will begin and after it’s complete, it’ll leave a tick option adjacent to Repair box.
4. Run an SFC and DISM Scan
SFC, short for System File Checker, is a Windows utility that can be fallen back upon when some of your Windows files malfunction. It checks for file corruption and then tries to repair it.
It is accessed through the Command prompt. To get started, go to Start menu search bar, type in ‘command prompt,’ and then launch it as Administrator.
This launches your Command prompt in elevated mode, something necessary to run the SFC utility.
In the Command prompt, type the following command and hit Enter:
sfc/ scannowThe tool will scan your PC and you should be able to run the Security app by the end.
If the SFC tool doesn’t work, don’t fret just yet. Much like how the SFC tool helps fix your PC, a DISM scan finds and fixes issues with the SFC tool.
Like with SFC scan above, you’ll have to launch the DISM as an administrator as well. Go to the Start menu, type in ‘DISM,’ and run it as administrator. When you launch the DISM scan, enter the following command and hit Enter:
DISM /Online /Cleanup-Image /ScanHealthAs soon as the command finishes executing, your files would’ve been scanned and all the corruption issues would most possibly have been resolved.
When you’re done, simply restart your PC for the changes to take effect, and see if the problem persists.
5. Reset Your PC
A panacea for all Windows difficulties, the “Reset Your PC” setting resets your computer to its initial state. It’s far better than reinstalling the whole Windows, as you can reset your PC while also keeping your personal files and folders intact.
To get started, follow the steps below:
- Go to the Start menu search bar, type in ‘settings,’ and select the Best match.
- In the Settings menu, click on System > Recovery.
- In the Recovery options tab, click on Reset PC.
- Then select Keep my files > Local reinstall and click on Next.
That’s it. Follow the instructions ahead and your PC will be reset in no time. When your PC restarts, all your settings will be at ground zero again.
Fixing the Issues With Windows Security
Windows Security is a must-have for Windows health. However, the app can sometimes malfunction and stop working properly. Hopefully, one of the methods laid out above helped you get it working once again. But that’s not all; There are a ton of ways you can enhance your PC’s security, so make sure you aren’t simply relying on Windows security for your Windows security.
Read Next
About The Author


